Checkout v.1 - Configuration
Let's get through the steps to create a new POS Checkout and finally obtain the Public and Private Keys required to set all the stuff up and running.
Get into Developer Secure Area of DropPay website
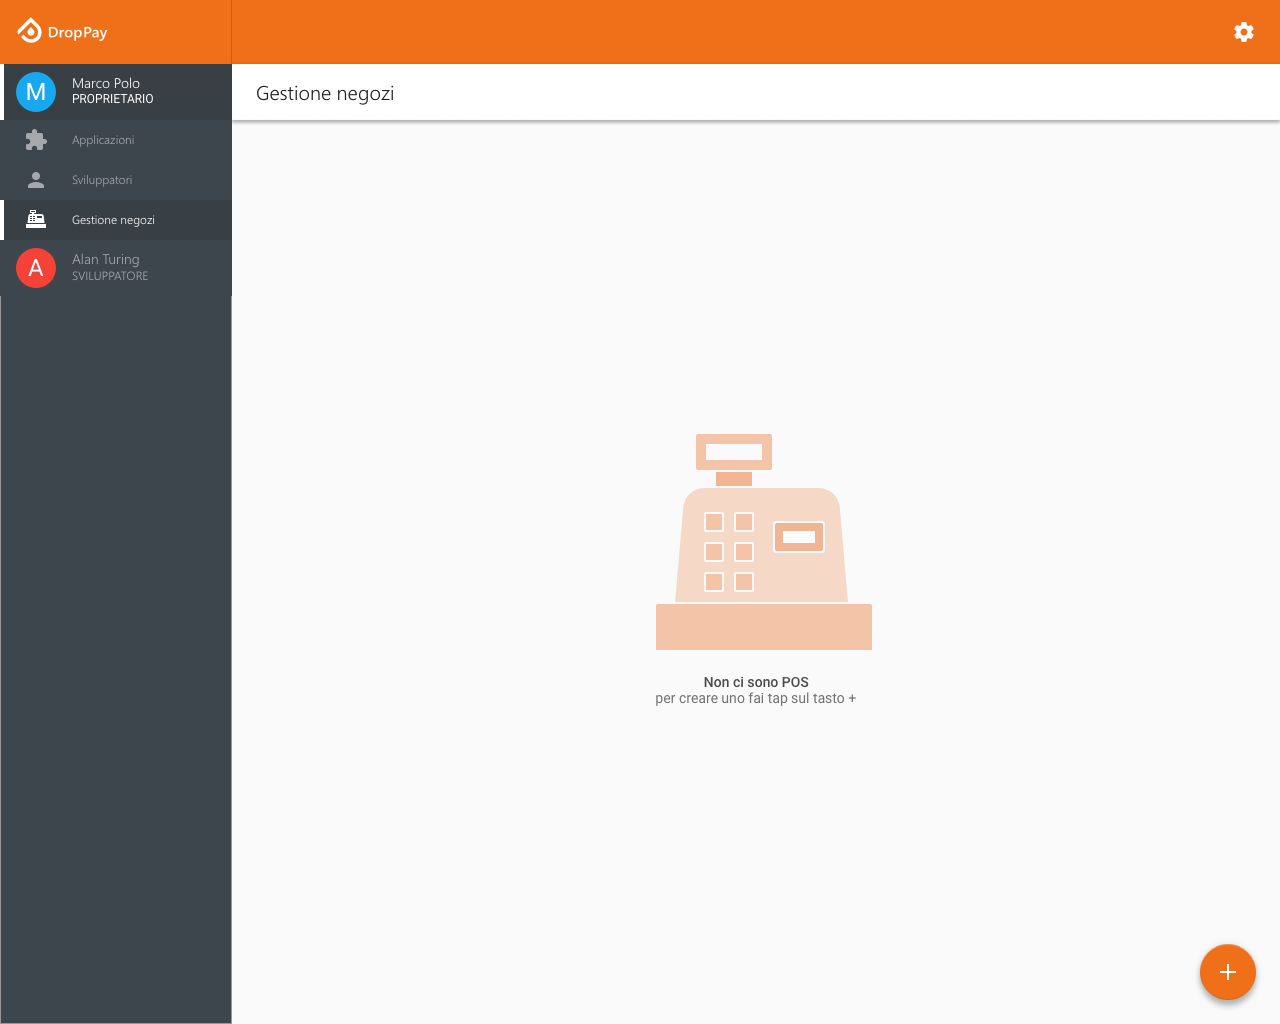
The Developer Secure Area
This is what you see if no POS hes been created yet.
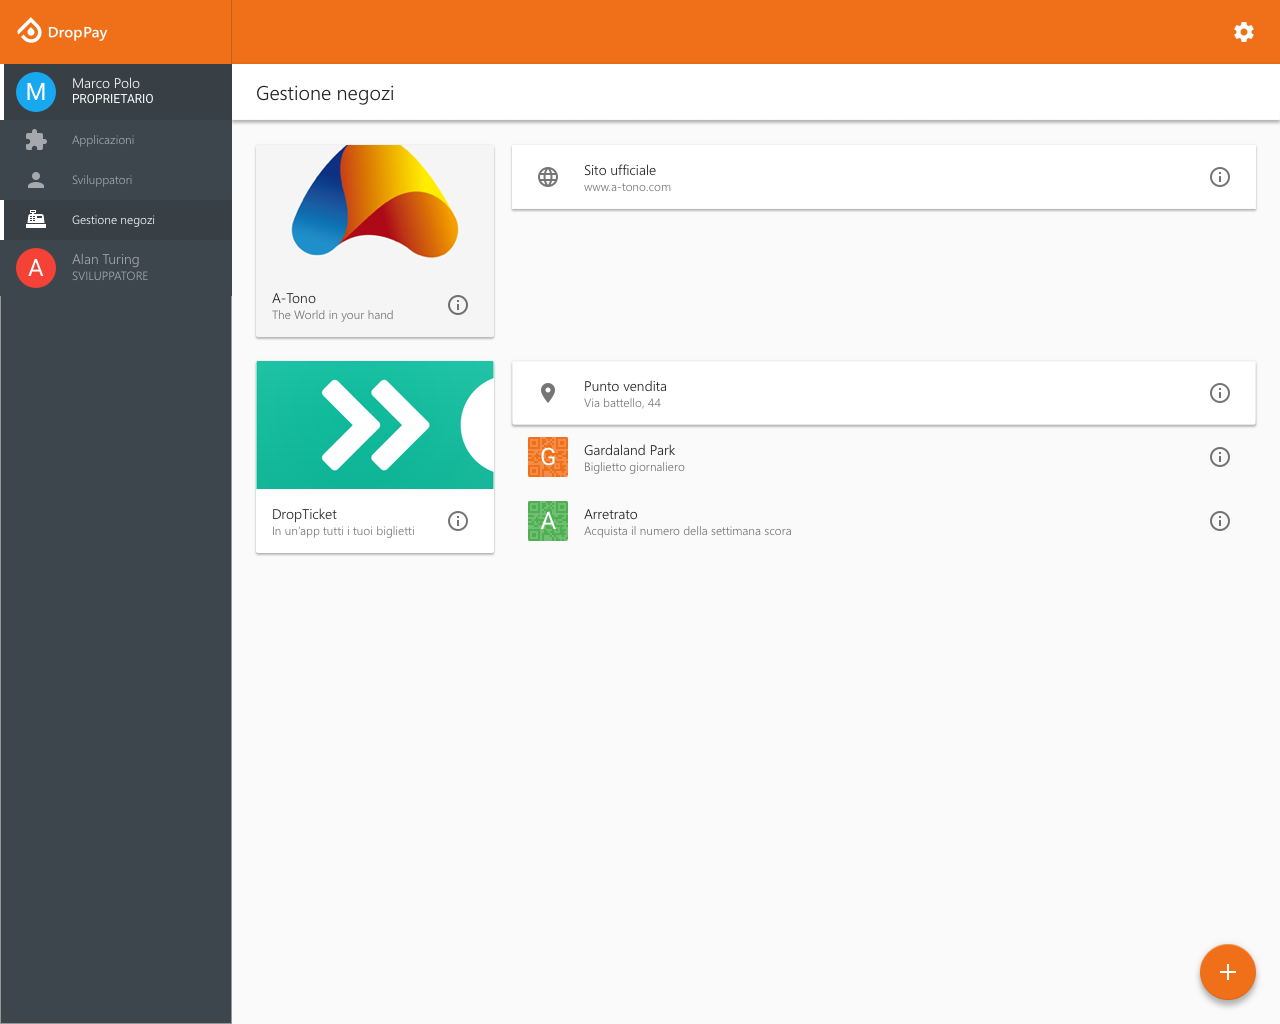
And this is the view of a merchant that already has some PsOS available:
By hitting the + button you can add a POS.
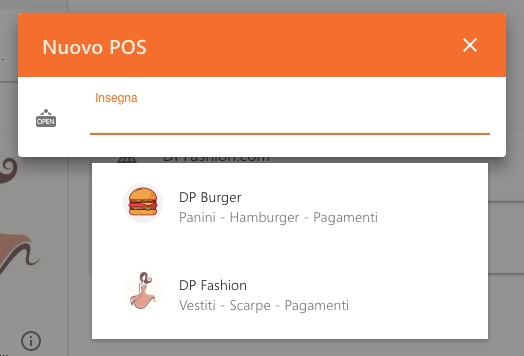
Create a new POS
When you focus on Brand input field, the list of your available brands is shown up.
Choose the one you want the new POS is collecting payment for.
Set Brand
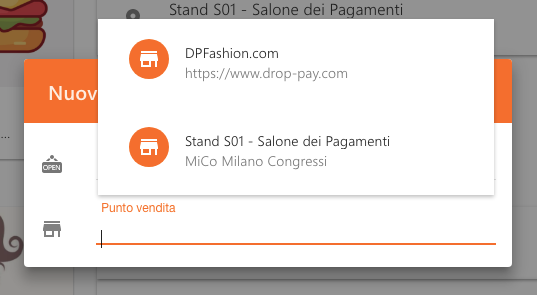
Now choose the Store from available ones in the list.
Set Store
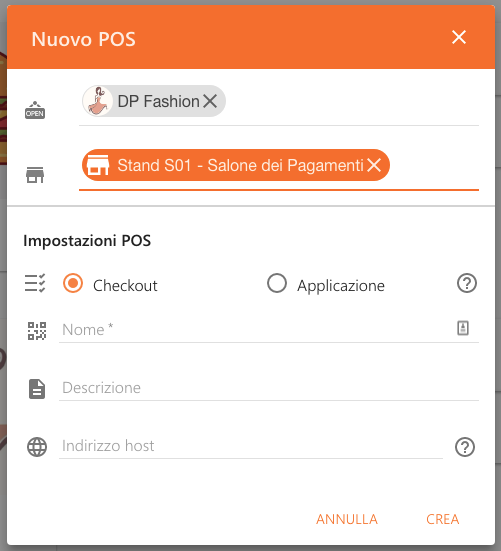
Then make sure the Checkout radio button is set and define
- a name
- a short decription (optional)
- the domain (i.e.
mycommerce.server.com) that is publishing your checkout page
Set Checkout
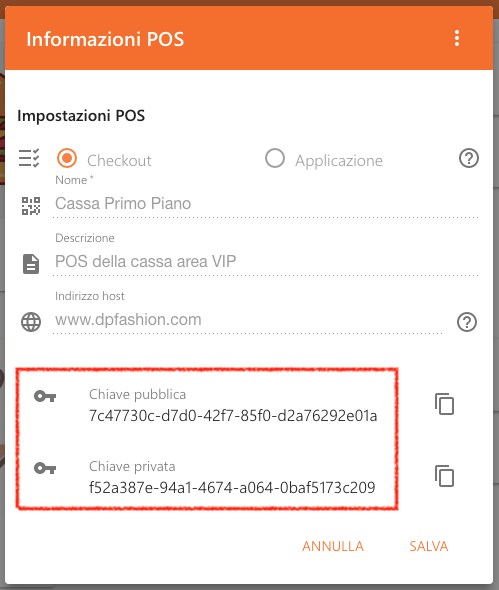
Get the POS Checkout keys
In the following picture we highlighted the lines where you can find the Chekout Public Key to be used in Init page code and Checkout Private Key to be used for authenticating requests of Control API.