DropPay API - Shop v.1 - POS - Application Configuration
...when your Application becomes a virtual POS
As you should already confident with, your Application can consume all DropPay API sets it has got the permission to, regardless it's going to read account balances, transfer money or collect payments for your Store.
Collect payments is a job for virtual POS, hence your Application needs to know a POS Id and use it to initiate a payment flow.
You can imagine you Application as a device that runs a specific virtual POS every time it creates an Authorization for that POS.
Creating a POS that enables your Application to POST new Authorization objects to POS API is a task to be done on Developer Secure Area of DropPay website.
Create a POS through API
Your Application can create a new POS obtaining its POS Id with a POST request on pos end-point of POS API. You must have connected your Application with merchant Business Account resource and make your Application performs the requests on behalf of him. Have a look at POS resource documentation page.
Using the API let your app to put in sequence the Connection challenge by which obtaining, from the merchant, the authorization to access his resources, and the POS creation, from within the same user interface your application is going to offer to your merchant.
Let's get through the steps to finally obtain the POS Id.
Get into Developer Secure Area of DropPay website
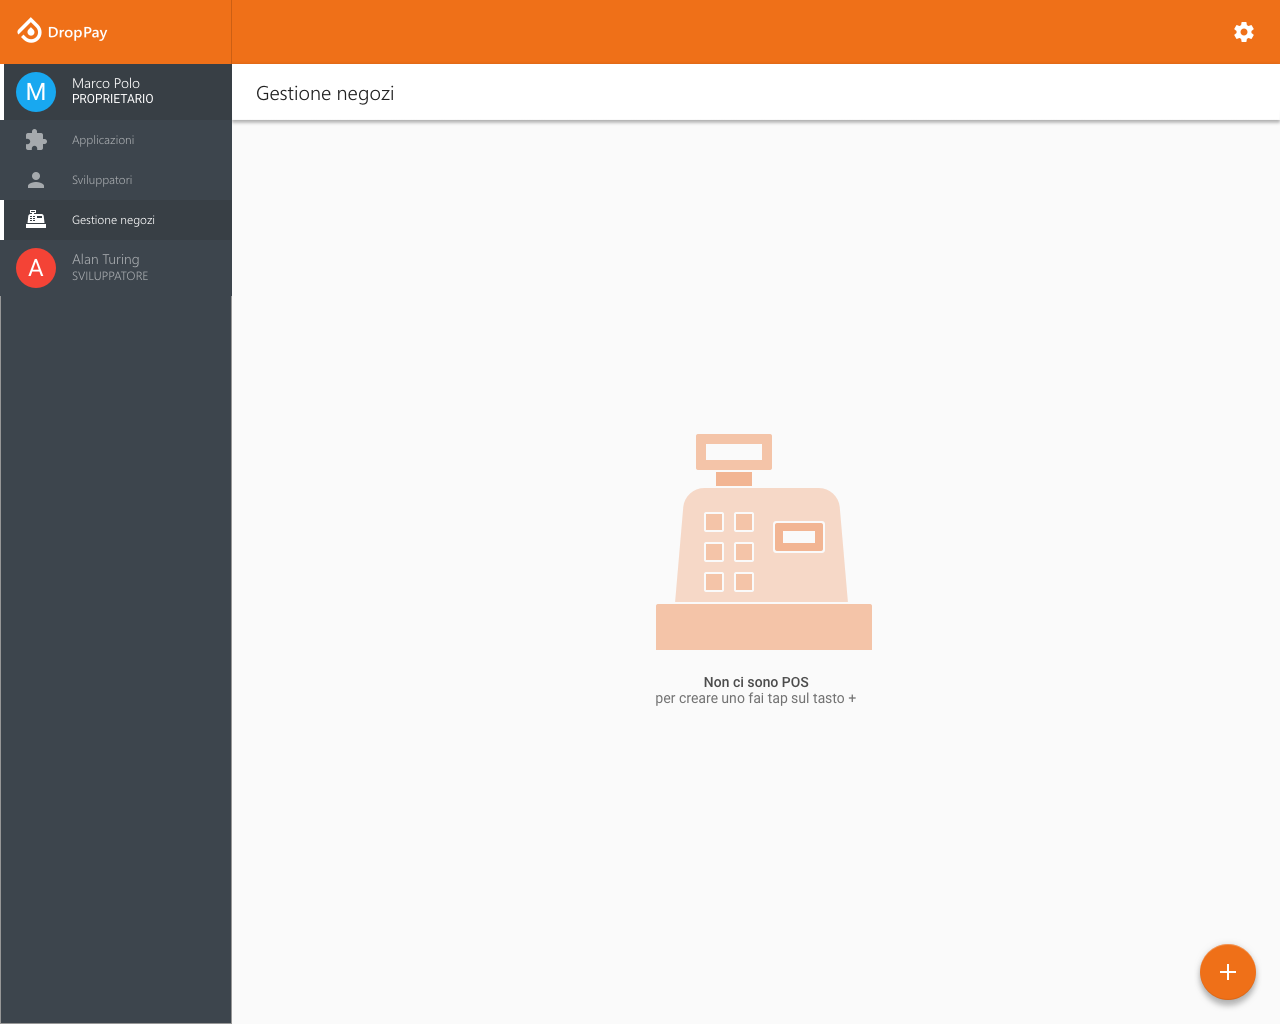
The Developer Secure Area
This is what you see if no POS hes been created yet.
And this is the view of a merchant that already has some PsOS available:
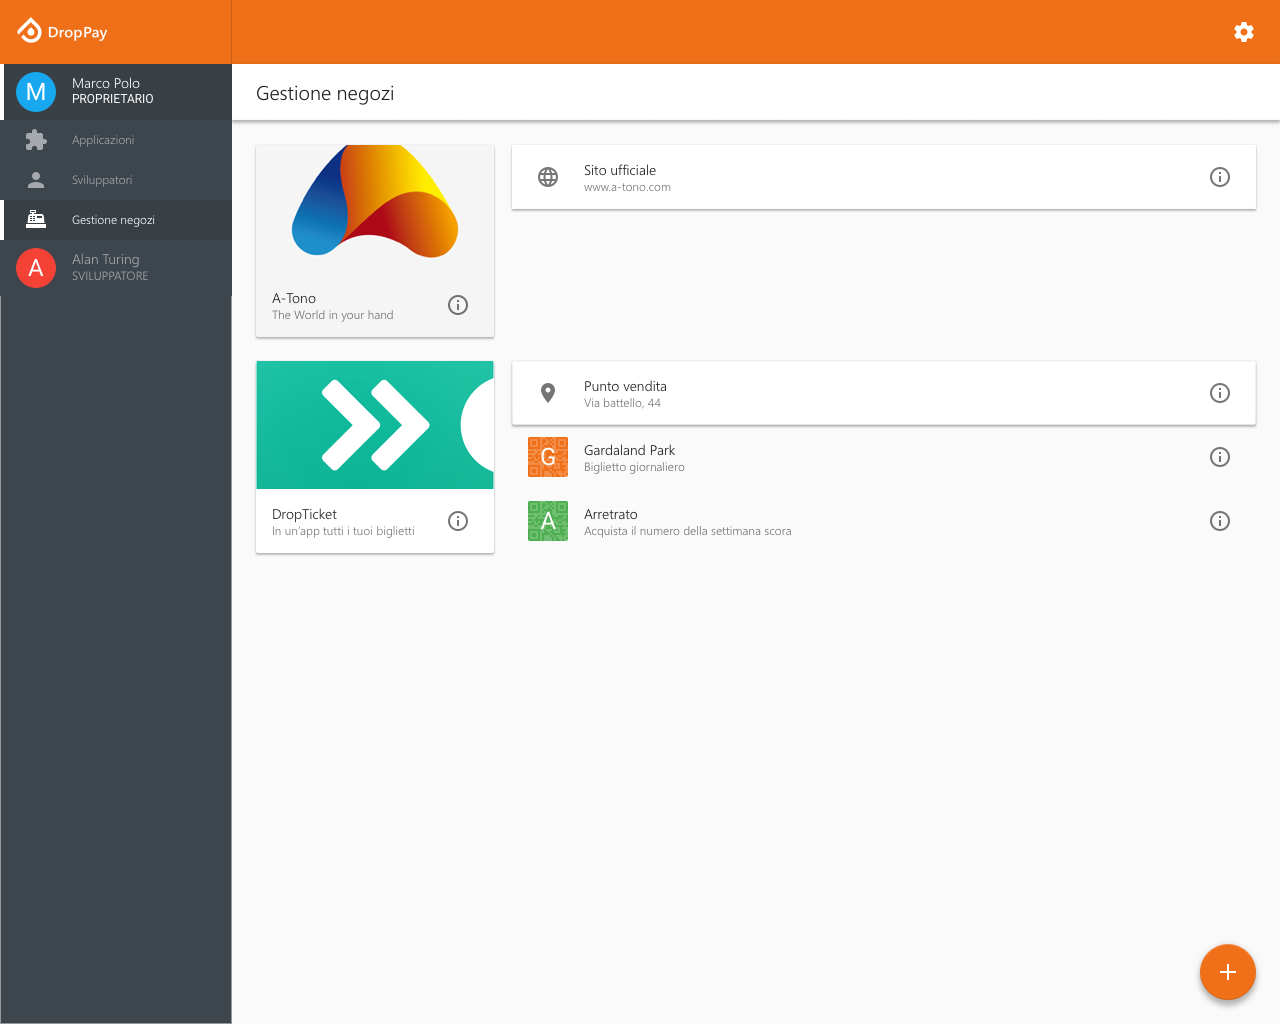
By hitting the + button you can add a POS.
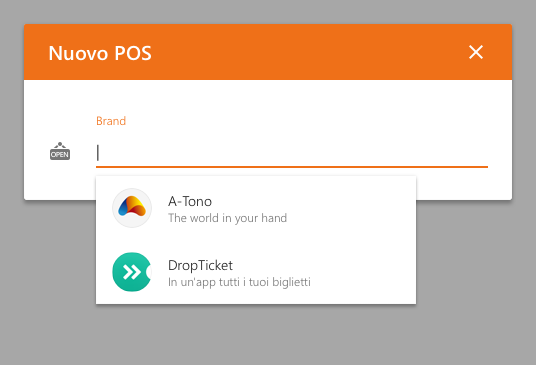
Create a new POS
When you focus on Brand input field, the list of your available brands is shown up.
Choose the one you want the new POS is collecting payment for.
Set Brand
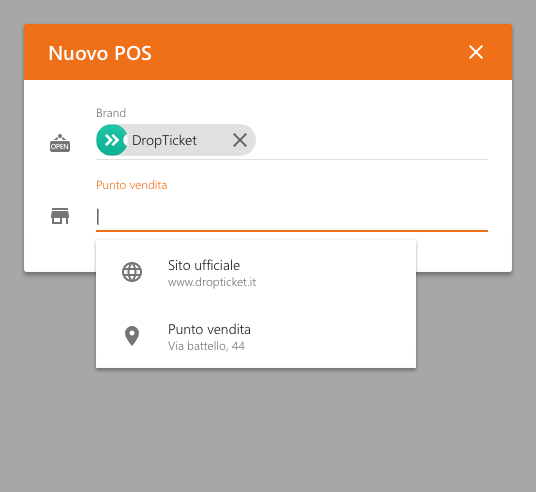
Now choose the Store from available ones in the list.
Set Store
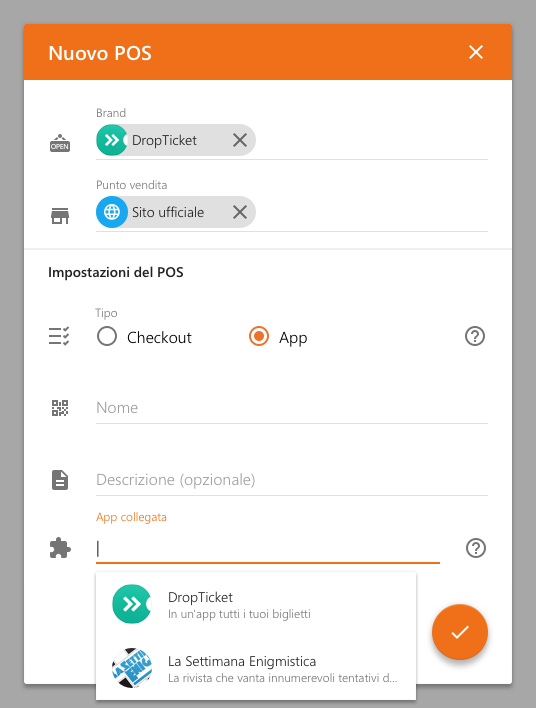
Then make sure the App radio button is set and choose one of your already connected application as device for the new POS.
Set Application
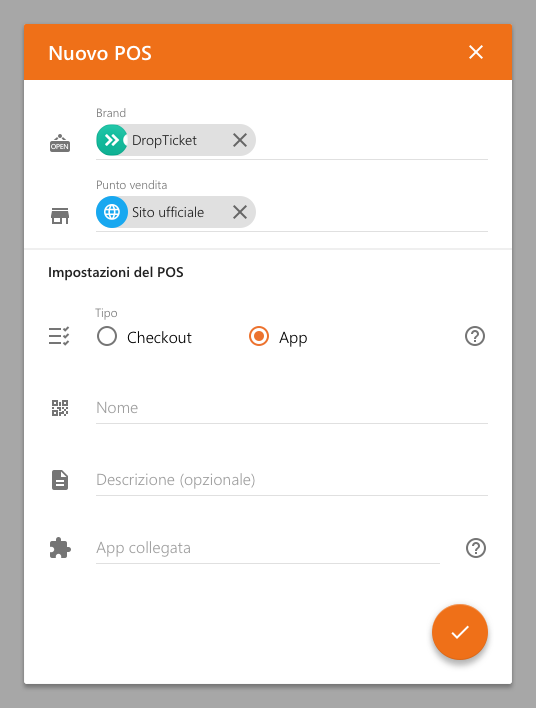
Finally set the Name and optionally a short Description of the new POS.
Get the POS ID
In the following picture we highlighted the line where you can find the POS Id.
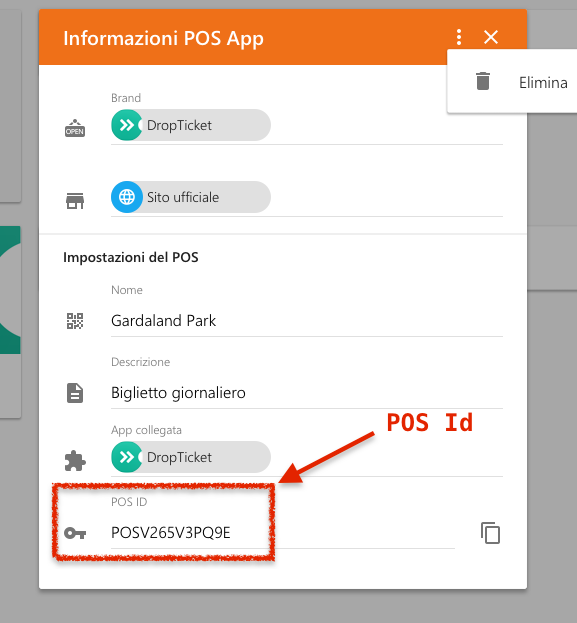
Use the POS Id in every payment Authorization POST request, setting its pos_id property accordingly.